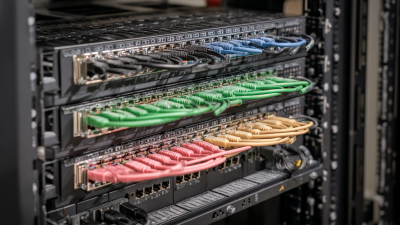
10 Tips for Choosing a Cat 6 Patch Panel
Choosing a cat 6 patch panel can seem simple until a rack becomes crowded, warm, and difficult to service. The right panel affects signal stability, installation speed, labeling, and future upgrades. A cheap decision may create expensive troubleshooting later.
Structured cabling specialist Valerie Maguire once said, “A patch panel is not just a termination point; it is a service point for the network.” That practical view matters. Every port should support organized connections, clear identification, and dependable maintenance. A well-designed cat 6 patch panel should match the cable type, connector layout, rack depth, grounding needs, and expected port density.
Small details matter.
For example, a technician working inside a dim rack should not need to guess which cable serves a wireless access point. Numbered ports, readable labels, and rear cable management can prevent that mistake. Shielded systems also require compatible components and proper bonding. Otherwise, the installation may look professional while performing poorly.
This guide examines ten important selection factors, including standards compliance, termination style, build quality, port capacity, and testing access. It also considers practical issues that product pages often overlook. Not every installation needs the most expensive panel. That assumption deserves questioning. A reliable choice depends on the environment, installer skill, maintenance plan, and expansion demands.
Some decisions remain imperfect. Space, budget, and availability can conflict. Careful evaluation still reduces avoidable risk.
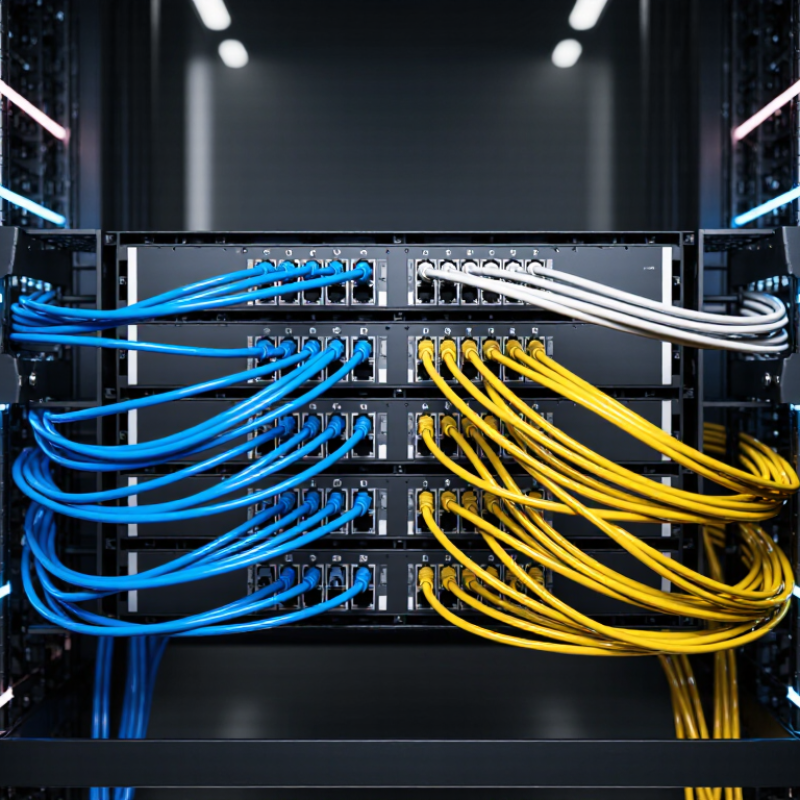
Define Cat 6 Requirements: 250 MHz Bandwidth per ANSI/TIA-568.2-D
Choosing a Cat 6 patch panel starts with a measurable requirement: 250 MHz bandwidth. ANSI/TIA-568.2-D defines this performance level for Cat 6 balanced twisted-pair cabling. It supports Gigabit Ethernet and can support 10GBASE-T over shorter channels. The distance matters.
Do not select a panel by port count alone. A 24-port panel may fit the rack, yet poor termination design can weaken return loss and insertion loss performance. Choose panels with clearly labeled IDC terminals, strain relief, and a compatible wiring scheme. The standard recognizes both T568A and T568B pinouts, but every connected component must use the same scheme. Small errors create large troubleshooting delays.
Test the completed channel with a certified field tester. Record wiremap, length, resistance, insertion loss, return loss, and crosstalk results. ANSI/TIA-568.2-D sets permanent-link limits, while ISO/IEC 11801 provides comparable structured-cabling performance guidance. A 250 MHz rating is not a promise of perfect installation quality. I have seen neat-looking panels fail because cable pairs were untwisted too far. Keep pair untwist within the manufacturer’s stated limit. Leave service slack, but avoid tight bends and crushed cable bundles. That detail is easy to ignore. It should not be.
Verify 1000BASE-T Support Across the 100 m Channel per IEEE 802.3ab
Choosing a Cat 6 patch panel requires more than checking the label. Verify 1000BASE-T support across the complete 100 m channel, as defined by IEEE 802.3ab. The channel normally includes up to 90 m of permanent link cable and 10 m of patch cords. A suitable panel must maintain all four twisted pairs without degrading balance or pair geometry.
Check the panel’s electrical specifications, including insertion loss, return loss, and crosstalk performance. Confirm compatibility with solid conductor cable if the permanent link uses solid conductors. Review the termination method, port density, labeling, grounding provisions, and strain relief. The contacts should accept the required conductor size and preserve the correct pair lay. Do not guess. Read the test data.
A practical installation check includes inspecting untwisted lengths, bend radius, cable routing, and patch cord quality. Keep records. After termination, certify the channel with a calibrated field tester set for Cat 6 and 1000BASE-T limits. Field experience shows that a compliant panel can still fail when installers untwist pairs too far or overfill a rack. One overlooked cord may affect the entire channel. I have seen neat-looking panels produce unstable links under load. That result is easy to dismiss, but it deserves investigation. Recheck connectors, grounding, pair mapping, and test settings before replacing equipment. A reliable choice depends on the whole channel, not the panel alone.
Choose Port Density and Shielding Based on ISO/IEC 11801 Cabling Classes
ISO/IEC 11801-1:2017 links cabling classes with measurable transmission performance. Class E supports up to 250 MHz, matching Cat 6 systems. Class EA reaches 500 MHz, which aligns with Cat 6A. Choose a patch panel rated for the installed class, not only the cable label. A Cat 6 panel can become the weak point in a higher-performing channel.
Port density affects installation quality. A 24-port panel in one rack unit usually leaves clearer labeling and better service access. A 48-port model saves space, but crowded terminations can restrict bend radius and airflow. My earlier preference for maximum density was too simplistic. The 2024 Global Data Center Survey reported that 53% of respondents experienced an outage within three years. Poor identification can lengthen recovery work. Small details matter.
Shielding should follow the electromagnetic environment and the complete link design. U/UTP may suit ordinary office routes with limited interference. F/UTP or S/FTP is more suitable near motors, variable-frequency drives, or dense power pathways. The panel, cable, connectors, and grounding method must use compatible shielding constructions. A shielded panel alone does not create a shielded channel. Test the finished link to ISO/IEC 11801 limits, then inspect bonding and drain-wire continuity. Do not assume better shielding always means better performance. Overspecification can increase cost and complicate termination.
Confirm Performance Through Permanent-Link Testing to ANSI/TIA-1152-A
Choosing a Cat 6 patch panel is not only about port density or convenient mounting. Its real value appears during permanent-link testing, performed according to ANSI/TIA-1152-A requirements.
A permanent link includes the patch panel, horizontal cable, and work-area outlet. It excludes user patch cords. Before testing, confirm the panel supports Cat 6 cable size and the correct termination method. Poorly seated conductors can create intermittent faults, even when the link looks tidy. Use a calibrated field tester with the correct permanent-link adapters. Check wire map, length, insertion loss, NEXT, return loss, and resistance imbalance. Keep the test settings matched to the installed cabling category.
Do not treat “PASS” as the end of the inspection. Review the measured margins, especially on links that pass narrowly. A result close to the limit may indicate untidy pair placement, excessive untwist, or a damaged conductor. I have seen clean-looking panels fail after one termination was reopened and punched down again. That reminder matters: neat cable management cannot replace accurate testing. Test from both ends when troubleshooting, label each port immediately, and save the reports with the installation records. If a panel repeatedly produces weak results, replace it before the rack becomes difficult to service.