What Are the Top Cat 6 Patch Panels to Buy?

Choosing the right cat 6 patch panel is not simply a matter of counting ports. The panel becomes a central point where cables, labels, tools, and future repairs meet. A poor choice can create crowded terminations, weak cable management, and confusing troubleshooting sessions.

Valerie Maguire, a recognized structured-cabling standards specialist, offers a useful principle: “Performance depends on the complete channel, not a single component.” That idea should guide every buying decision. A reliable cat 6 patch panel must match the cable type, support consistent termination, and maintain the required performance across the entire link. Brand reputation helps, but it cannot replace careful installation.

Look closely.

The best models usually provide clear port numbering, sturdy IDC terminals, grounding options, and enough rear space for cable routing. Shielded panels may suit electrically noisy areas, while unshielded versions often fit ordinary office networks. Rack depth also matters. A panel that looks compact online may leave little room behind a crowded cabinet.

This guide compares leading cat 6 patch panel options through practical criteria, including build quality, installation effort, labeling, compatibility, and long-term maintenance. It also considers small details that product descriptions often ignore. For example, can a technician reach the rear terminals without removing half the rack?

No panel is perfect.

Some models cost more because they simplify installation. Others appear inexpensive but demand extra accessories or replacement hardware. The final choice should reflect the network environment, installer skill, expansion plans, and realistic budget. A careful comparison reduces surprises, although even experienced professionals can overlook one inconvenient detail.
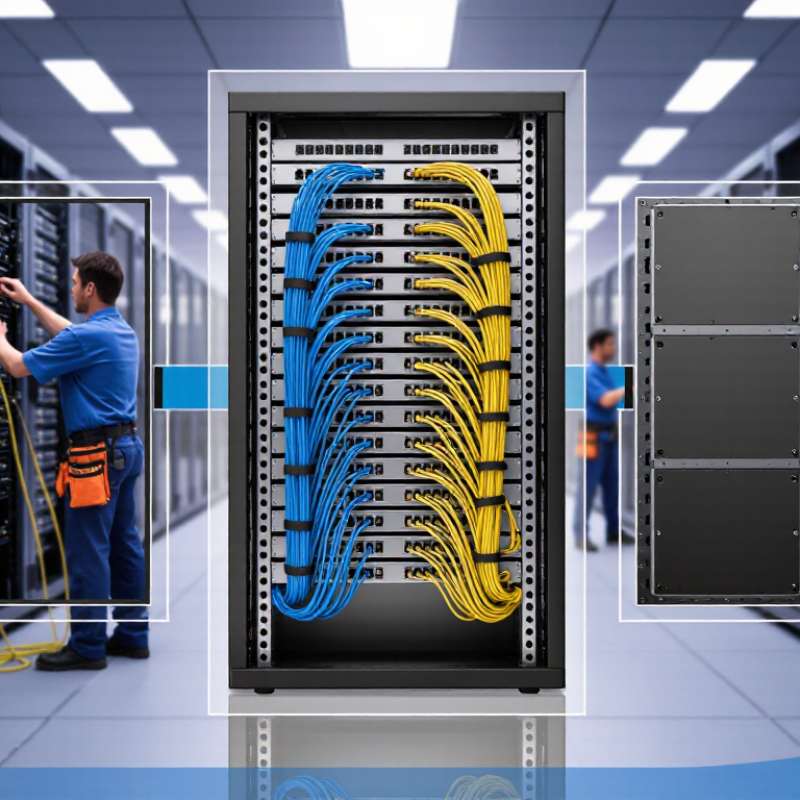
What Are the Top Cat 6 Patch Panels to Buy?

What Is a Cat 6 Patch Panel and Why Does It Matter?

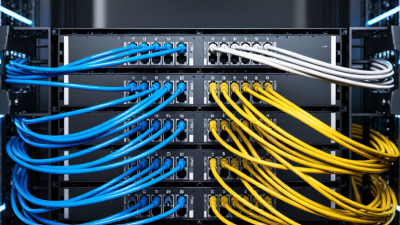
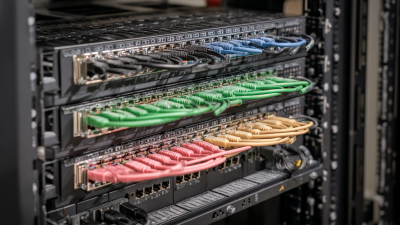
A Cat 6 patch panel is a rack-mounted connection point for Ethernet cables. Permanent cables terminate at the rear, while short patch cords connect equipment at the front. This design keeps network wiring organized and easier to repair. Cat 6 supports frequencies up to 250 MHz and commonly handles Gigabit Ethernet across 100 meters. Under suitable conditions, it can also support 10 Gigabit Ethernet across shorter distances.

Its value is not faster internet by itself. A patch panel improves structure, safety, and troubleshooting. Clear labeling helps technicians trace a cable without pulling wires from a crowded cabinet. Proper termination also protects the cable’s twist pattern, which reduces interference and transmission errors. Choose a panel that matches your cable type, such as shielded or unshielded construction. Mixing systems can create grounding problems. It is a small detail, but an important one.

Tips: Check the panel’s wiring standard before punching down conductors. Keep cable bends gentle, and avoid crushing the jacket with tight ties. Test every port with a certified cable tester, not only a basic continuity tool. Leave service slack behind the rack. I have seen neat installations fail because one pair was terminated incorrectly. Labels can also fade, so durable identifiers are worth using. Recheck the layout later; a plan that looks perfect today may become confusing after expansion.

Which Features Define a High-Quality Cat 6 Patch Panel?

A high-quality Cat 6 patch panel begins with verified performance, not a crowded product label. Look for compliance with recognized Category 6 transmission standards. Solid copper contacts matter. Copper-clad conductors can increase resistance and create disappointing results. Choose clearly labeled T568A and T568B wiring layouts. Consistent color coding reduces termination mistakes during busy installations.

A practical panel should accept 22–24 AWG solid cable and hold each conductor firmly. IDC terminals need sharp, durable contacts with strain relief nearby. I prefer rear cable management that prevents tight bends behind the rack. Keep the bend radius gentle. A metal frame can improve durability and grounding, while removable modules make future repairs easier. Port labels should remain readable under dim rack lighting. Small details matter.

Heat, dust, and repeated service calls reveal weak designs. Check whether the panel supports shielded or unshielded cabling as required by the installation. Mixing systems carelessly can create grounding problems. A qualified installer should test every terminated link with a certified cable analyzer, not just check link lights. That evidence is more reliable. I have seen neat-looking panels fail because one conductor was barely seated. Even experienced technicians miss details sometimes. Leave room for correction, document the test results, and avoid filling a rack so tightly that airflow and access disappear.

How to Compare the Top Cat 6 Patch Panel Types

When comparing top Cat 6 patch panel types, start with the installation environment. Unshielded panels suit ordinary office networks with limited electrical interference. Shielded panels provide better noise control near motors, fluorescent lighting, or heavy power cables. They also require proper grounding. Without it, the extra metal may offer little practical value.

Port layout affects daily maintenance. A 24-port panel fits many small racks, while a 48-port model supports denser installations. However, crowded panels can make cable tracing frustrating. Angled panels guide cords toward the sides and reduce sharp bends. Flat panels usually cost less and fit narrow cabinets more easily. Measure twice. I once underestimated rear clearance and created an awkward cable loop.

Connection design deserves close attention. Punch-down panels offer a secure termination and work well for permanent horizontal cabling. Feed-through panels speed installation because cables connect directly through front and rear ports. They can simplify changes, but their extra connectors may increase failure points. Modular panels allow individual ports to be replaced, which helps after accidental damage. Check that each panel supports Category 6 performance, follows recognized wiring layouts, and accepts the cable diameter used on-site. Clear numbering, rear cable support, and accessible grounding hardware matter more than a polished front surface. Test every link with a certified cable analyzer, not only a basic continuity tester.

What Are the Top Cat 6 Patch Panels to Buy? - How to Compare the Top Cat 6 Patch Panel Types

Cat 6 Patch Panel Type Typical Port Configuration Termination Method Shielding and Grounding Installation Format Main Advantages Possible Limitations Recommended Use Overall Suitability
Unshielded Punch-Down Panel 12, 24, or 48 RJ45 ports; 24 ports commonly occupy 1U in a 19-inch rack Permanent cable is terminated on rear IDC blocks using a 110-style punch-down tool Unshielded; no panel grounding connection is required Rack-mount or wall-mount versions are available Cost-effective, widely compatible, simple to maintain, and suitable for ordinary office cabling Provides less protection from electromagnetic interference than a shielded design Office networks, classrooms, homes, and areas with normal electrical noise levels ★★★★★
Shielded Punch-Down Panel Usually 12, 24, or 48 shielded RJ45 ports Permanent cable is terminated on shielded IDC blocks Metal shielding and a grounding path help reduce electromagnetic interference; the complete shielded system must be properly bonded Typically 1U rack-mount for 24 ports Improves protection in high-noise environments and supports shielded Cat 6 cabling systems Costs more, is heavier, and requires correct grounding and compatible shielded components Industrial areas, data rooms near motors, power equipment, or dense electrical installations ★★★★★
Feed-Through Panel Commonly 24 or 48 front-to-rear RJ45 ports Factory-terminated keystone-style couplers; no field punch-down is normally required Available in both unshielded and shielded versions Usually rack-mount; 24 ports commonly fit within 1U Fast installation, clear front access, and convenient patch-cord management May have a higher purchase price and can provide less flexibility for replacing individual termination modules Data centers, temporary deployments, and installations where rapid service changes are important ★★★★☆
Modular Keystone Panel Typically 12, 24, or 48 openings compatible with replaceable modules Uses individual Cat 6 keystone jacks, couplers, or other compatible inserts Can be configured as unshielded or shielded depending on the modules selected Rack-mount, wall-mount, and multimedia faceplate formats are common Highly flexible; damaged ports can be replaced individually and different connector types can share one panel Module quality must be consistent, and mixed components may complicate certification or labeling Small installations, mixed media systems, laboratories, and networks likely to change over time ★★★★☆
Angled Patch Panel Usually 24 or 48 ports arranged in angled rows Available with punch-down or feed-through termination Available in unshielded and shielded configurations Rack-mount; the angled face directs patch cords toward the sides or vertical managers Can improve cable routing, reduce bend stress, and make high-density connections easier to view Requires sufficient rack depth and may not fit every existing cable-management layout High-density racks and cabinets with limited horizontal cable-management space ★★★★☆
Low-Profile Wall-Mount Panel Commonly 6, 12, or 24 ports Usually rear IDC punch-down termination Most commonly unshielded; shielded versions may also be available Wall-mounted enclosure or compact bracket rather than a standard rack unit Saves rack space, supports distributed wiring, and works well in small communications closets Limited room for patch-cord management and less suitable for large cable bundles Residential networks, retail sites, branch offices, and small wiring closets ★★★☆☆
High-Density Panel Often 48 ports in 1U; some designs provide higher port density Punch-down, modular, or feed-through options depending on the construction Unshielded and shielded versions are available Designed for standard 19-inch equipment racks Maximizes port capacity and conserves rack units in large deployments Port identification, access, and cable management require careful planning Data centers and large structured-cabling installations with limited rack space ★★★★☆

Comparison basis: A compliant Cat 6 horizontal cabling system is generally designed for frequencies up to 250 MHz and a maximum permanent-link or channel length determined by the applicable structured-cabling standard. Actual performance depends on the cable, connectors, installation quality, grounding, bend radius, and certification testing. Always match the panel to the cable category, conductor type, shielding design, rack space, and applicable local standards.

What Should You Check Before Buying a Cat 6 Patch Panel?

Before buying a Cat 6 patch panel, check the performance standard, not only the port count. ANSI/TIA-568.2-D defines Cat 6 performance to 250 MHz, while ISO/IEC 11801 supports structured cabling designs up to 100 meters. A suitable panel should match these requirements. Confirm whether it supports 23 or 24 AWG solid conductors, because oversized cable may fit poorly in narrow insulation-displacement terminals.

Look closely at shielding and grounding. Unshielded panels suit many office installations, but shielded systems need bonding continuity from cable to rack. One missing grounding link can weaken the whole design. Also check PoE support. IEEE 802.3bt permits up to 90 watts from the power source, although the delivered power is lower after cable losses. The panel should manage heat, preserve pair geometry, and provide clear labeling.

Port density matters in real cabinets. A 24-port, one-rack-unit panel saves space, but crowded cable entries can make testing awkward. Choose rear cable management, removable labels, and reliable strain relief. Independent certification data is valuable; ask for insertion-loss, return-loss, and near-end crosstalk results, rather than accepting vague “high-speed” claims. Testing guidance from the Telecommunications Industry Association emphasizes permanent-link verification, not visual inspection alone. I would avoid buying solely by price. That shortcut often becomes expensive during troubleshooting. Some panels look neat but bend cables too sharply. Check the installation manual carefully.

How to Install and Organize a Cat 6 Patch Panel Properly

A reliable Cat 6 patch panel starts with the installation plan, not the shopping cart. Choose a panel with clear port numbering, solid cable management, and termination blocks that match your cable type. Unshielded cable needs an unshielded panel unless a qualified grounding design says otherwise. Shielding without proper bonding can create confusion rather than protection.

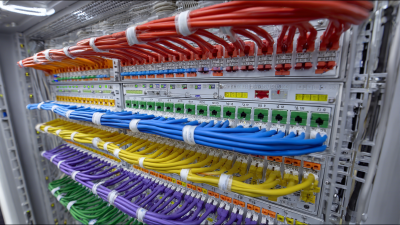
Keep each permanent link within the ANSI/TIA-568.2-D limit of 90 meters. The complete channel should not exceed 100 meters, including patch cords. Leave service loops, but avoid tight coils behind the rack. Cat 6 cable usually needs a bend radius of at least four times its diameter. Label both cable ends before termination. Do not guess.

In field work, I have seen neat panels fail because installers untwisted pairs too far. Preserve the twist close to each termination, and follow the panel’s wiring diagram consistently. A basic cable tester can reveal reversed pairs, split pairs, and excessive resistance. Certification testing is better when the network supports high-speed links. Uptime Institute’s 2023 Global Data Center Survey reported that 60% of respondents had experienced an outage during the previous three years. Poor cabling is not always the cause, but careless organization makes faults harder to isolate. Leave room. Keep patch cords in logical port groups, use consistent lengths, and document every change. My own early installations used labels that faded quickly; durable, machine-printed labels would have prevented that avoidable rework.